Queue Properties
Select the queue to change by highlighting it. Update the queue settings in the Properties Bar on the right side of the FTSpooler Window.
Fax Tab
This option sends FormTrap documents as faxes using Windows Fax Service. If your site has moderate volumes of fax, please consider using a fax service provider. You dispatch via the web to a service provider and they generally have very good facilities that transfer secured, and provide for review and monitoring. Most fax service providers deliver in seconds due to their infrastructures and their charges are cheaper than most companies can secure for fax delivery. Faxes take around 55 second per one page fax via Windows Fax Service.
FormTrap deals with outgoing faxes only.This web site compares fax service providers in the USA as well as providing a good generic description of what the service provides and what to look for.
http://www.comparefaxproviders.com/
In Australia, we recommend and provide a software bridge to Prodocom (see here) where we've recommended many customers over many years.
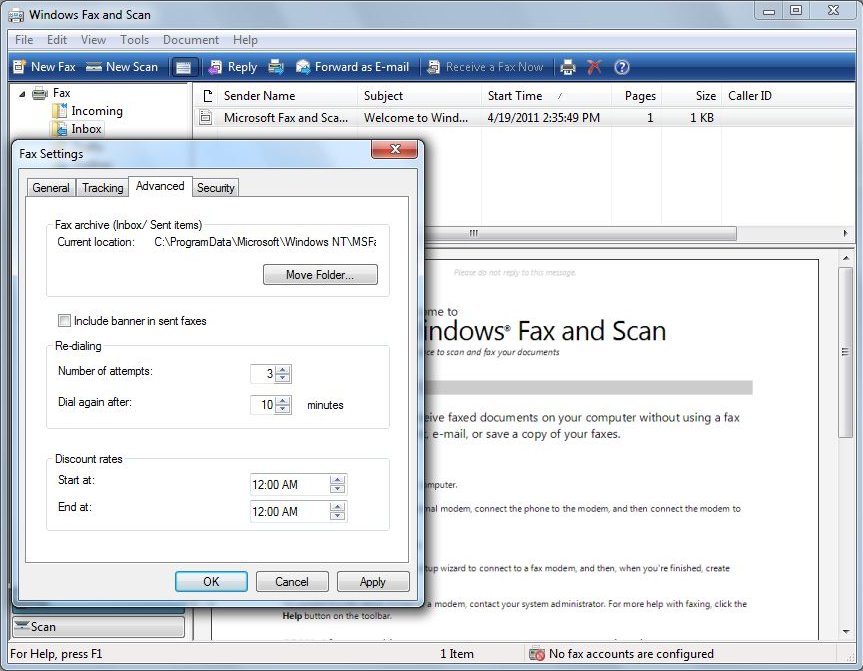
Note: Your fax setup must, repeat MUST have Include banner unticked and you will require other changes in Microsoft® Fax Console. For Windows 7, select via Start, All Programs, Windows Fax & Scan, Tools, Fax Settings ..., Advanced tab and untick Include banner in sent faxes.

Windows Fax Service is normally activated using Associated File entries with any default option overridden by the Associated File. Like any of the "special delivery" methods, the Properties tab, Associated file entries prompt must be set correctly.
More information on Windows Fax Service and Associated Files see Reserved Names.
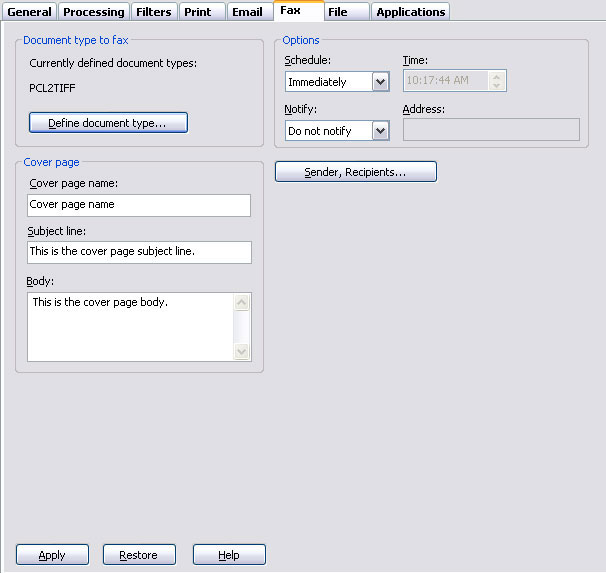
To set the properties of faxing:
- Click Define document type to specify the document type. Fax requires TIFF for faxing so select the filter that converts from your document type to Tiff; i.e. one of :
-
- Version 8:
- PCLXL to Tiff where Processing tab, Language is PCLXL (PCL6)
- PostScript to Tiff where Processing tab, Language is PostScript
- Version 7:
- PCL to Tiff where Processing
tab, Data Folder is marked as PCL

- PCLXL to Tiff where Processing
tab, Data folder is marked as PCLXL

-
PostScript to Tiff where Processing tab,
Data folder is marked as PostScript

- PCL to Tiff where Processing
tab, Data Folder is marked as PCL
- Version 8:
- More information on Define Document Type
- The usage of Cover page is OPTIONAL. The Cover page must be first created using Windows Fax Cover Page Editor. You can launch it from Start - All Programs - Accessories - Communications - Fax - Fax Cover Page Editor, create, edit and save your cover page. In FTSpooler fill in the Cover page name i.e. the full path of the cover page, Subject line, and Body. You can use associated file variables for Subject line and Body.
- Use an associated file variable by quoting the associated file name in square brackets "[" and "]". For Example, quoting Your Order [PO Num] would deliver “PO22344” from the associated file line PO Num=PO22344 to give Your Order PO22344.
- More information on Using Associated Files in FTSpooler Queues Properties
- Select one of the three Schedule options: Immediately, Off peak and At specified time (Time required).
- Select one of the three Notify options:
- Do not notify
- Email to sender - requires a special email SMTP notification process (mailnfy.exe to run in the background).
- Email to inbox - only works with Microsoft® Exchange.
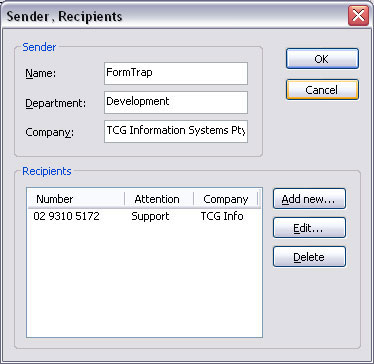
- Click the Sender, Recipients button to manage the details of the fax sender and recipients. This is the default and is normally overwritten by the Associated File field W2KFax from the document.
- More information on Managing Sender, Recipients Details
-
Click the Apply button to save the changes.

Manage the sender and recipients information
To manage the sender and recipients information:
- Enter sender information sender's Name, Department and Company.
-

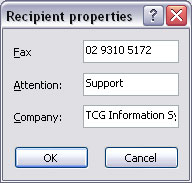
- Click the Add new, Edit or Delete button to change the recipient lists.
-


