Design & Objects
Objects


 Duplicating Objects
- Grouping Objects
- Changing Object Order
- Multiple Object Size
- Multiple Object Properties
- Using the Nudge Tool
- Using the Alignment
Tool
- Examples
Page Elements
Examples
Here are some examples showing alignment tools in operation.
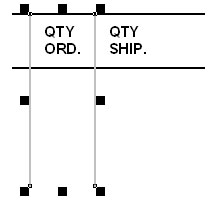
Nudge Tool Example
Use Difference between selected objects nudge option to create quantity columns that are equal in width.
- Select two column lines on the QTY ORD. column.
- Choose Nudge from Tools menu, or click on the Nudge tool button from the toolbar.
- Select Difference between selected objects from the Pre-defined values menu.
- Click the OK button.
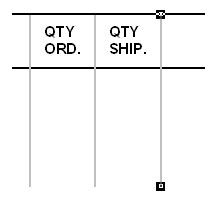
- Select the right column line and select Copy
then Paste from the Edit menu, or
click Copy tool
 then Paste tool
 from the
Toolbar.
from the
Toolbar. - Note: Paste draws directly over the Cut or Copied object.
- Press the right arrow on the keyboard. Now you have columns for QTY ORD. and QTY SHIP. that are equal in width.
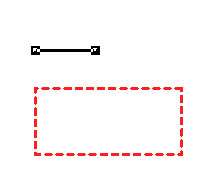
Aligning Objects Example 1
Align the left side of an object to the left side of another object.
Select the object to be aligned.
- Select the Left alignment tool on the alignment toolbar.
- Click on the left side of the second object.
- The first object aligns itself to the left of the second object.
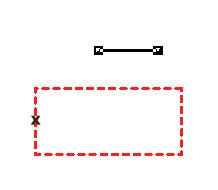
Aligning Objects Example 2
Align the left side of an object to the right side of another object.
- Select the object to be aligned.
- Select the Left alignment tool on the alignment toolbar.
- Click on the right side of the second object.
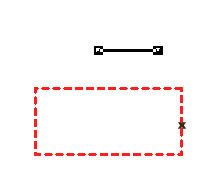
- The first object left aligns itself to the right of the second object.
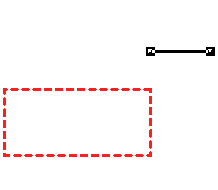
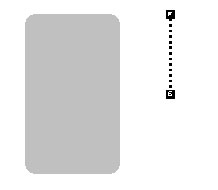
Aligning Objects Example 3
Align the top of an object to the top of another object.
- Select the object to be aligned.
- Select the Top alignment tool on the alignment toolbar.
- Click on the top of the second object.
- The first object aligns itself to the top of the second object.
Aligning Objects Example 4
Align the top of an object to the bottom of another object.
- Select the object to be aligned.
- Select the Top alignment tool on the alignment toolbar.
- Click on the bottom of the second object.
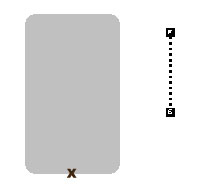
- The first object aligns itself to the bottom of the second object.
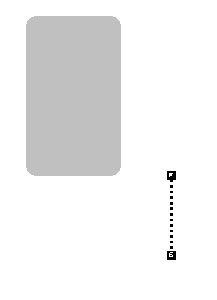
Aligning Objects Example 5
Horizontally center a selected object between the left and right sides of another object.
- Select the object to be aligned.
- Select the Horizontal center alignment tool on the alignment toolbar.
- Click on the left and right sides of the second object.
- The first object is horizontally centered between the left and the right sides of the second object.
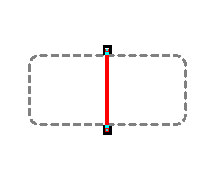
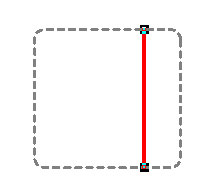
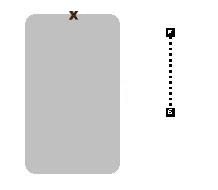
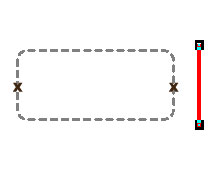
Using Stretch Alignment Example
Stretch the vertical line to fit the height of the rectangle.
- Select the object to be stretched.
- Enable the Stretching tool.
- Select the Vertical center alignment tool on the alignment toolbar.
- Click on the top and bottom sides of the second object.
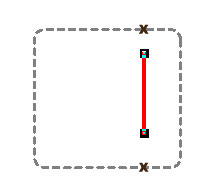
- The first object (vertical line), is stretched to be the same height as the second object (rectangle).