Overview
Objects are placed on the layout screen by selecting, dragging and
dropping from the Toolbox. Toolbox contains all of the basic object
types, called Snippets. User-nominated snippets may be
stored and maintained in addition to the standard set. There is a
short PowerPoint on Snippets HERE.
Toolbox Snippets
Toolbox is controlled by the icons at the top of the Layout window:

Add 
Delete ![]() and
and
Edit ![]() user snippets.
user snippets.
The next two icons enable viewing of Standard  and User snippets
  .
.
With both enabled all snippets are shown. Text snippets are
organized alphabetically, and are then followed by graphics, then
some of the uncommonly-used types.
Large  and Small
  complete the snippet icons.
These are the standard snippets:
Colon-aligned for title and data, prints Page: 1
Currency for money, prints $1.00
Date, prints as your locale's 31-12-2013 with today's date
Long Text for line-wrapped text
Quantity for numerics, prints as 1.0
Short Text for text, not word-wrapped (normally data and constants)
Circle and Rectangle
Horizontal line and Vertical line
Arrow and Callout
Picture
Barcode
Bar Graph and Pie Graph

This shows standard and user snippets. Hovering over a snippet
shows it's description.

Drag n Drop Snippets
To add an object to your layout, select, drag and drop a snippet.
Snippets are placed at the  cursor (see Horizontal line on the before
picture) with the after picture showing the result from dropping Horizontal
line.


 For graphic snippets, no edits are done. Text snippets may contain
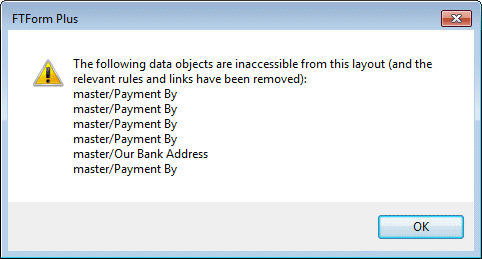
links to data fields. Where they do, an immediate edit detects
fields not found in the new layout.
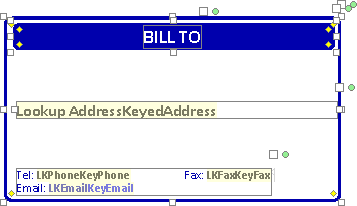
This is the snippet after replying OK to the message.

This obviously then involves work to establish the fields and to
link them to the object fields. The better way is to undo, set up
the required data fields and then redo the Drag n Drop.
User Snippets
You can mark and store any set of objects of a layout to Snippets
and this is highly recommended as a fast way to design new forms and
to establish standards.
This sequence shows the selection of objects from layout, and saving
those as a named (and hopefully documented) snippet:

Select the objects required:

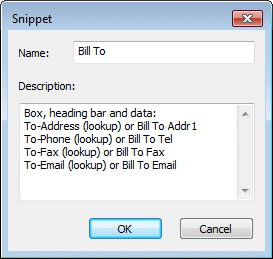
Click Create snippet  button and complete the snippets window.

The snippet appears in toolbox (shown with "hover" in the picture).


