Project defaults are used to initialize newly created projects and when
the stand-alone form is viewed using the preview options.
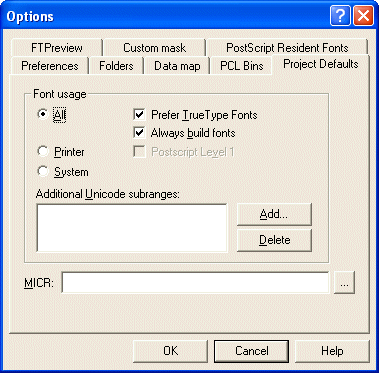
On the Project defaults
tab, you can set the following Font usage and MICR options:
- All - FormTrap uses a
combination of True Type fonts and printer-resident fonts when
designing and building your form. Once All is
selected you can then set the following options:
- Prefer True Type Fonts -
defaults to True Type fonts on all new projects. FormTrap uses True
Type fonts instead of printer-resident fonts when both are present i.e.
font 'Arial' exists both as a printer-resident and system based True
Type font). Prefer True Type Fonts is the default
option. Uncheck this box to default to printer-resident fonts on all
new projects.
- Always build fonts - when
FormTrap cannot find either the True Type or printer-resident fonts it
will substitute the next best fit for the missing font. Check this box
to ignore font related errors or when the exact appearance of text
glyphs is irrelevant.

- Printer - FormTrap uses only
printer-resident fonts when designing and building your form.
Printer-resident fonts are installed on the printer. Once Printer is
selected, you can then set the following option:
- Post Script Level 1 -
produces Postscript Level 1 output files. This option is generally used
for specific faxing solutions that require Postscript Level 1 input.
- System - FormTrap uses only
True Type fonts when designing and building your form. True Type fonts
are installed in your Windows font directory.
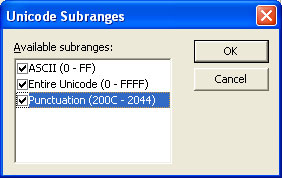
- Add Unicode subranges - this
allows you to include additional ranges of character glyphs into your
load (.ASC) file. Subranges are supplied by TCG during the installation
and on request. To add a new Unicode subrange:
- Click the Add button. The
Unicode subranges dialog box will
open.
- Select from the list of available subranges
and click the OK button.

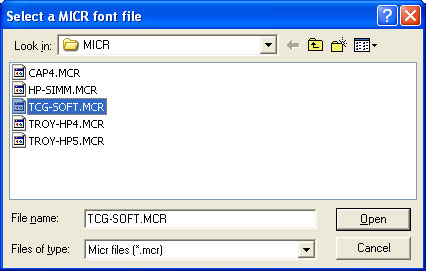
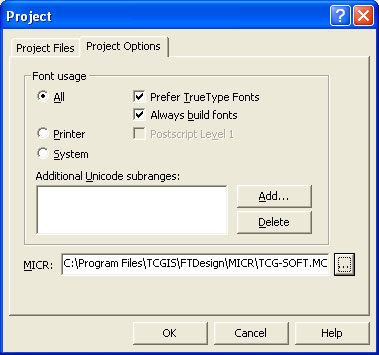
- MICR - Select a default MICR
file for all new projects. The MICR box refers to the location of the
MICR font file you are using to generate the MICR line on check forms.
The MICR font is only available when using a PCL printer driver to
design and build forms.
- Click the browse "..."
button and locate the MICR directory.
- Select the correct MICR file and click the OK
button.
- If you are not producing checks (cheques)
or you are not using the PCL printer driver you can ignore this option.

|
|

 Overview
 Creating a Project
 Project Settings
 Project Files
 Project Options
 Building the Load (.asc) File


