Configure
FTSplitDef to identify the file and
to split it into individual documents. Each
individual document can be then delivered to an individual
recipient.
|
|
|
Create a New Entry |
A new entry is created for each different
type of document that is recognized. The identification, unwanted page and split rules
can then be configured.
More information on Creating Entries in FTSplitDef
- Select New from the Entry menu or
click Add new entry button.
- In the Entry box, give a meaningful name
to the entry, such as document type.
- Set the Maximum number of rows per page
of the sample data.
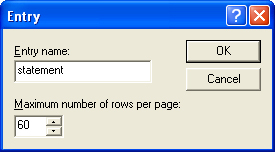
- Click OK.
The new entry will appear
in the bottom left hand corner of the FTSplitDef
screen.
 |
|
|
Top
|
|
Load Sample Data |
Load a sample data file to
use as a test case:
- Select Load print stream from the File
menu.
- Select an appropriate test case file in the
Open
dialog box and click the Open button.
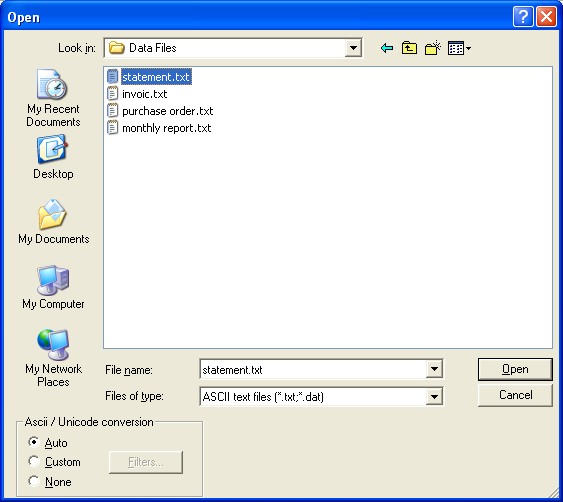
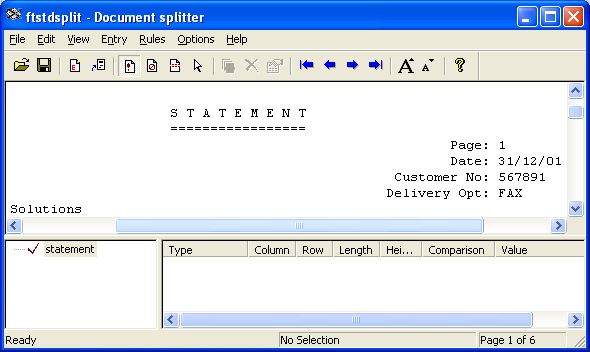
- The test case data file appears in the main
window of the FTSplitDef screen.
|
|
|
Top
|
|
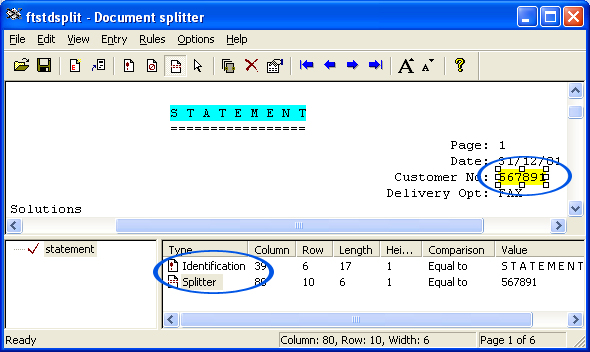
Create an Identification Rule |
The identification rule is mandatory and is used by
FTSplitDef to determine the type of file
being processed.
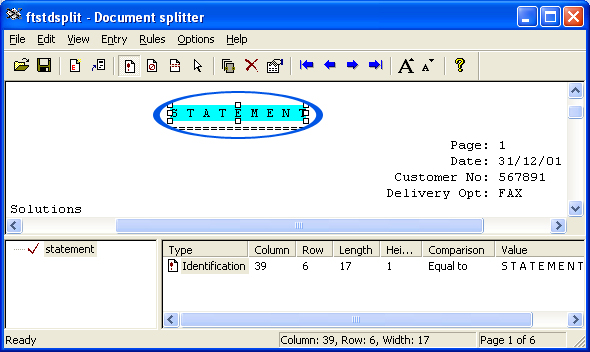
- Select the Identification rule button
- Highlight the text that will be used to identify
the document.
- The identification rule and text used to
evaluate the rule, are shown in the rules window.
|
|
|
Top
|
|
Create a Split Rule |
Split rules are optional and are used to
split a print run into individual documents. FTSplitDef
begins writing data to file until the first split rule
succeeds. The file is then closed and FTSplitDef begins
writing a new file until the split rule again succeeds.
It will do this until the entire file has been processed
writing separate files.
- Select the Split rule button.
- Highlight the text that you want FTSplitDef to
evaluate.
- The split rule, its location, evaluation and the text used
to evaluate, are shown in the rules window.
|
|
|
Top
|
|
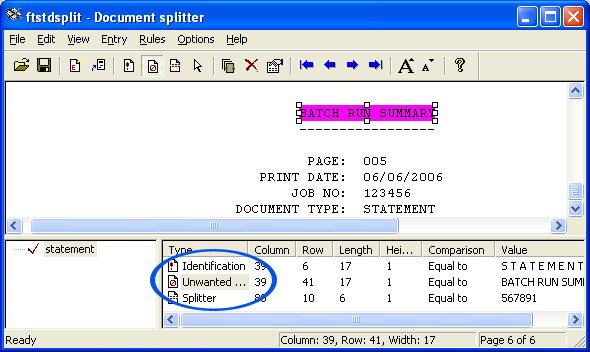
Create an Unwanted Page Rule |
Unwanted page rules are optional and are used to
identify unwanted pages such as line-up pages and
control totals.
- Select the Unwanted page rule button.
- Highlight the text that you want FTSplitDef to
evaluate.
- The unwanted page rule, its location and
evaluation and the text used
to evaluate, are shown in the rules window.
|
|
|
Top
|
|
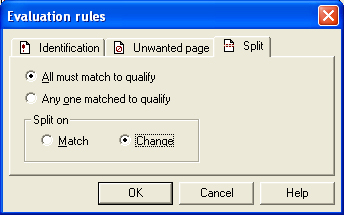
Configure the Rule Evaluation |
After defining the identification of unwanted and split
rules, you may need to configure the rule evaluation for
each entry in the rule file.
- Select Evaluation Rules from the Rules
menu.
- For each rule type, set whether all rules or at
least one rule must be satisfied before the action
occurs.
- On the Split tab, select the correct
Split on option.
- Click OK.
|
|
|
Top
|
|
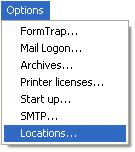
Save the rule file |
Save rule file and transfer it to the computer where
FTSpooler is installed (if Developer's Kit and FTSpooler
are installed on different computers). The location
where the file should be copied can be seen in
Locations dialog box of FTSpooler.
More information on Rule Files Location in FTSpooler |
|
|
Top
|
|
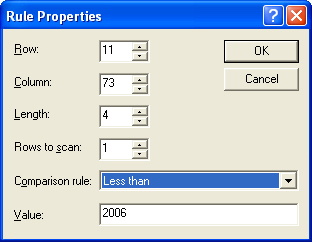
Configure Rule Evaluation |
Double click on the rules to change the properties.
Options for Comparison rules includes: Equal
to, Not equal to, Greater than,
Greater or equal to, Less than, Less or
equal to, Empty, and Non empty.
|
|
|
Top
|
